Tiger 1 : my latest writings
The fuel pumps
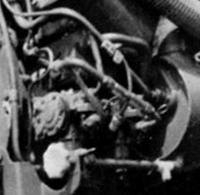
https://tiger1.info/EN/Fuel-pumps.html
The mufflers
https://tiger1.info/EN/Mufflers.html
The lower fuel tanks
https://tiger1.info/EN/Lower-fuel-tanks.html
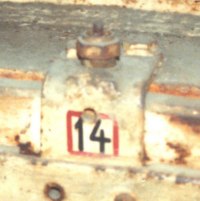
Tiger "131" has had some changes.
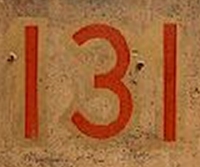
https://tiger1.info/models/products-page/BOV131
The first "Das Reich" Tigers
https://tiger1.info/unit-page/8-DR
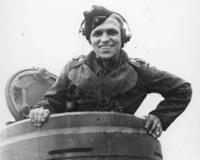
Forming up for inspection
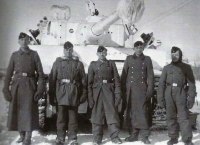
https://byrden.com/panzers/EN/Crew-lineup.html
Guide to the gyroscope
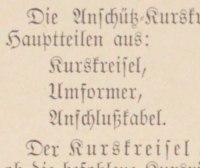
https://byrden.com/panzers/EN/Gyroscope-instructions.html
Transformer for the gyroscope
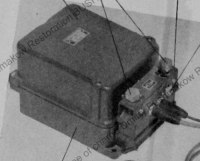
https://byrden.com/panzers/EN/Transformer-Gyro.html
Gyroscope
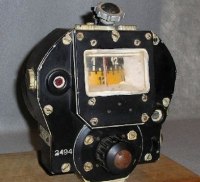
https://byrden.com/panzers/EN/Gyrocompass.html
Floor panels
https://tiger1.info/EN/Hull-floor-panels.html
Items around the engine room

https://tiger1.info/EN/Engine-room-equipment.html
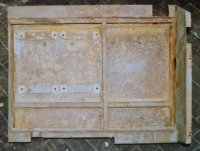
The rear hull floor
https://tiger1.info/EN/Rear-hull-floor.html
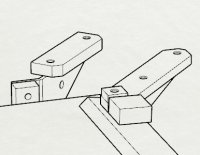
The hull floor supports
https://tiger1.info/EN/Floor-U-beams.html
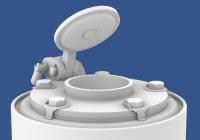
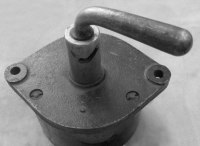
The drain lever
https://tiger1.info/EN/Rear-drain.html
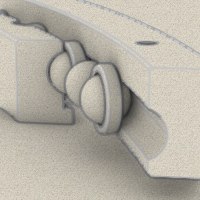
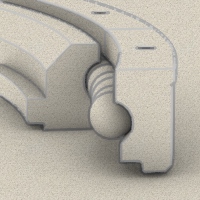
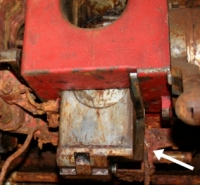
The first turret lock
https://tiger1.info/EN/Turret-lock-early.html
The gunner's pedals
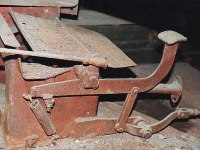
https://tiger1.info/EN/Gunners-pedals.html
The inflatable sealing tube
https://tiger1.info/EN/Turret-sealing-tube.html
Three versions of the toothed ring
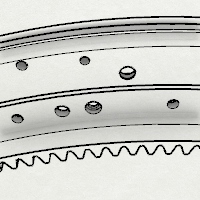
https://tiger1.info/EN/Toothed-ring.html
Seating ring for the turret
https://tiger1.info/EN/Turret-seating-ring.html
Sealing clamps in the turret
https://tiger1.info/EN/Turret-seal-early.html
Toothed ring in the turret
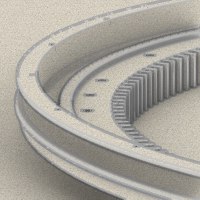
https://tiger1.info/EN/Toothed-ring.html
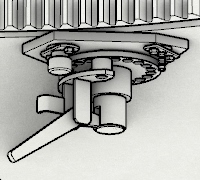
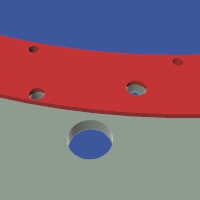
Mid/Late turret bearing race
https://tiger1.info/EN/Turret-bearing-mid-late.html
Early turret bearing race
https://tiger1.info/EN/Turret-bearing-early.html
The main battery switch
https://Byrden.com/panzers/EN/Battery-switch.html
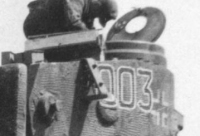
The first Tigers of the 503
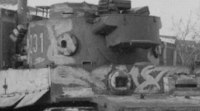
https://tiger1.info/unit-page/503-Rostov
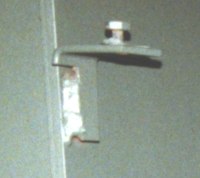
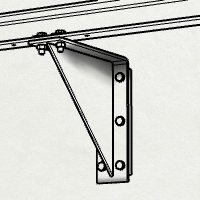
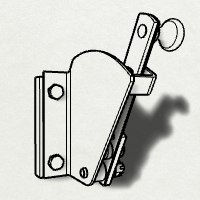
Semi-automatic bracket
https://tiger1.info/EN/Semi-automatic-bracket.html
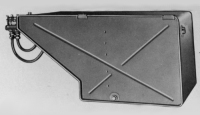
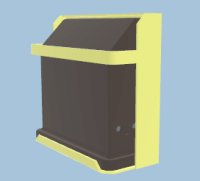
Case for radios
https://byrden.com/panzers/EN/Radio-case-Fu5.html
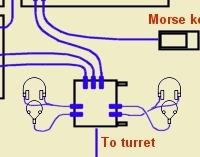
Trigger circuit
https://tiger1.info/EN/Firing circuit in old turrets.html
Torsion bars
https://tiger1.info/EN/Torsion-bars.html
Stand for the driver's seat
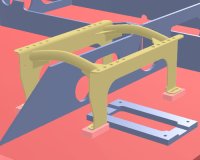
https://tiger1.info/EN/Drivers-seat-stand.html
Driver's seat
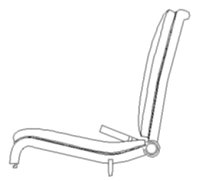
https://byrden.com/panzers/EN/Drivers-seat.html
Struts on the hull floor
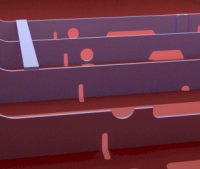
https://tiger1.info/EN/Floor-struts.html
The hull's dimensions
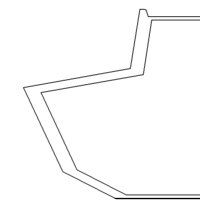
https://tiger1.info/EN/Hull-dimensions.html
The suspension axes

https://tiger1.info/EN/Suspension-main-axes.html
The reduction gear box
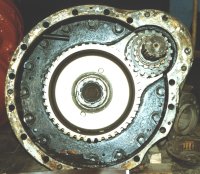
https://tiger1.info/EN/Final-reduction-gearbox.html
The 1st periscope holder
https://byrden.com/panzers/EN/Vertical-periscope-storage.html
The "New turret" of 1943
https://tiger1.info/EN/New-turret-external.html
The Command Tigers of s.Pz.Abt.505
https://tiger1.info/unit-page/505-cmd
The Tiger's transformers were under the floor.
https://tiger1.info/EN/Radio-transformers.html
Base plates for radio transformers were found in all Panzers.
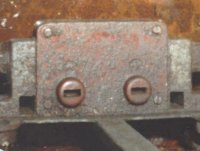
https://byrden.com/panzers/EN/Transformer-base-plates.html
Brackets for S-mine launchers were at the rear hull corners.
https://tiger1.info/EN/S-mine-brackets.html
Holders for the Mast Antenna were on the side of the Command Tiger.

https://tiger1.info/EN/Mast-antenna-holders.html
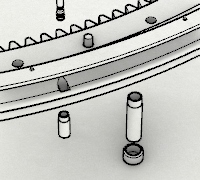
An explanation of the turret's ball bearings, for the Tiger 1 and other Panzers.
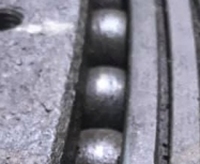
https://byrden.com/panzers/EN/Turret-bearings.html
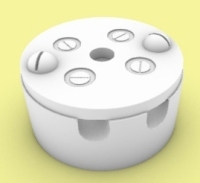
This switch is a standard component, found in the Tiger1 and most other Panzers.
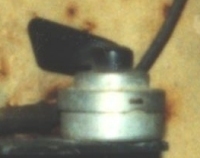
https://byrden.com/panzers/EN/Round-switch.html
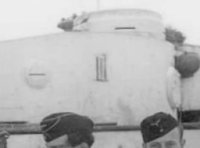
Here's a timely discussion of the one and only Tiger(P2) to see service (an ancestor of the Tiger1).
https://tiger1.info/EN/653-command-tank.html
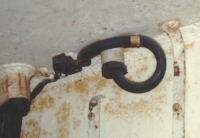
Every Tiger1 had one or two of these 4cm-wide electrical junctions.
https://byrden.com/panzers/EN/Multiway-connectors.html
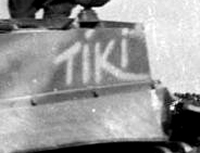
Why is Tiger "101" associated with Kurt Knispel? Apparently we're all mistaken about it...
https://tiger1.info/EN/Knispel-Tiger-101.html
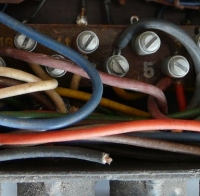
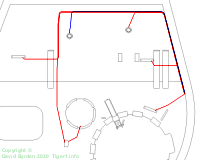
Here are the cable connections for the radios in a standard Tiger1. This will be useful to model builders.
https://tiger1.info/EN/Radio-wiring.html
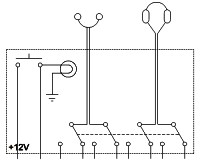
About the smoke launcher system that was used for a time on the Tiger1.
https://byrden.com/panzers/smoke.html
Every model kit and every drawing of the Tiger 1 has a mistake in the ammunition racks, as far as I can see.
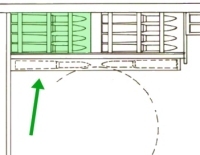
https://tiger1.info/EN/Ammo-bins.html
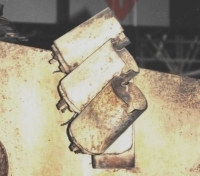
A simple explanation of the breech blocks in most Panzers, including the Tiger 1.
https://byrden.com/panzers/EN/Breech-blocks.html
New facts keep coming to light! The first Tiger 1 had five mess tins prominently stored in the fighting room.
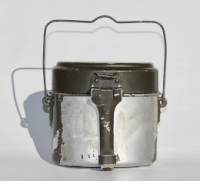
https://tiger1.info/EN/Mess-tins.html
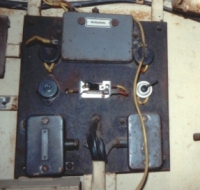
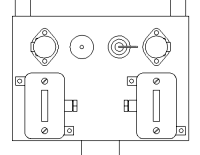
Circuitry in the intercom boxes of a Command Tiger 1, or indeed any Befehlspanzer from 1942 onwards.
https://tiger1.info/EN/Command-comms-boxes.html
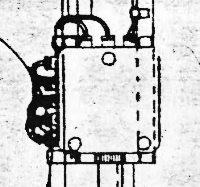
The intercom circuit diagram for the Command Tiger 1.
https://byrden.com/panzers/EN/Intercom-B-circuit.html
For a long time I've been hoping for a Befehlstiger wiring diagram to appear. But this table at the end of D-9023 has the information I wanted. (PDF)
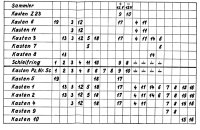
https://www.cdvandtext2.org/D-9023-1-KPzw-Tiger-Befw.pdf
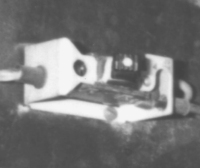
Thanks to those who generously provided photos of the "Kasten 6" in the Command version of the Tiger 1.
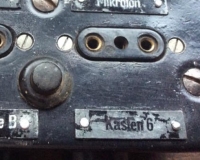
https://byrden.com/panzers/EN/Intercom-B-usage.html
The forgotten electrical layout of Tiger "712"'s turret is rediscovered.
https://tiger1.info/EN/Turret-wiring-Initial.html
The wiring layout in the first "Mid" Tiger turrets.
https://tiger1.info/EN/Turret-wiring-Mid.html
Here is the wiring layout in a "Late" Tiger turret.
https://tiger1.info/EN/Turret-wiring-Late.html
About the wiring in the Early Tiger turret.
https://tiger1.info/EN/Turret-wiring-Early.html
Up to 7 versions of the Tiger turret circuit board existed.
https://tiger1.info/EN/Turret-circuit-board.html
The trigger circuits of the Tiger 1 are explained. At last we understand the big circuit board.
https://tiger1.info/EN/Turret-trigger-circuit.html