About this detail of the Tiger
The Tiger's turret incorporated a toothed ring, hidden inside its bottom edge. This ring was bolted to the hull when the turret was mounted. The turret turned itself by driving a small gear wheel against this ring. The drive gear could be powered by the gunner, by the commander or by the engine.
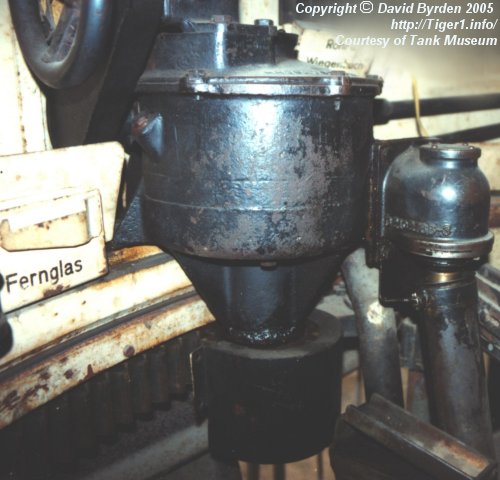
This photo, taken inside the unrestored Bovington Tiger, shows the toothed ring at bottom; normally it was concealed by panels, but one of them has been removed. The drive gear is protected by a black cover. It is on a vertical axis, descending from a large gear housing.
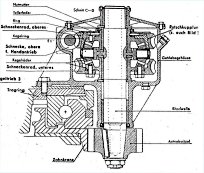
This German diagram from the Turret Manual shows the contents of the housing. There is a double worm gear arrangement, allowing either of two horizontal shafts to drive the traverse. One of the horizontal shafts is visible end-on at top left. The turret race, including the ball bearings, is at bottom left. At bottom, the "Antriebsritzel" (drive gear) engages the "Zahnkranz" (toothed ring).
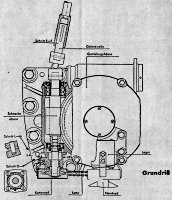
This German diagram shows the same housing from above. The aforementioned horizontal shaft leads to the gunner's handwheel up front. That same shaft has a "Kettenrad" (toothed wheel) at its back end; this is driven by "Handrad" (handwheel) via a "Kette" (chain).
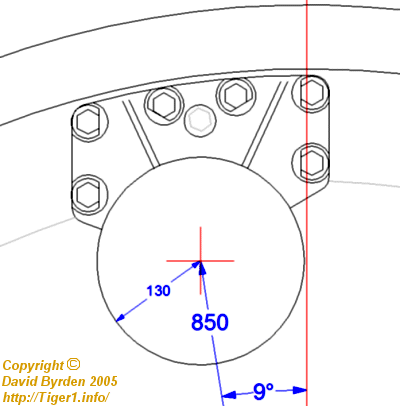
The housing had a webbed flange which was bolted to the a base plate, as shown in this diagram [2] . The flange had a hole to clear one of the turret ring's bolts.
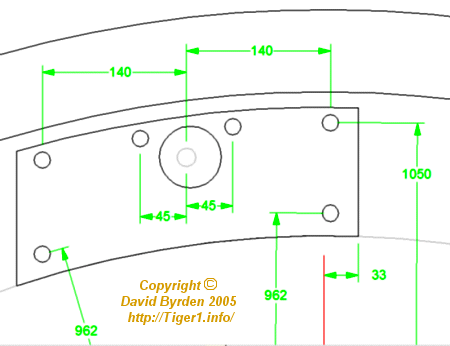
This is the base plate, as drawn in a factory diagram [1] with its designed dimensions. The profile diagram suggests that these threaded holes were drilled through the base plate and into the turret ring top plate, so I don't know what purpose this 8mm base plate served.
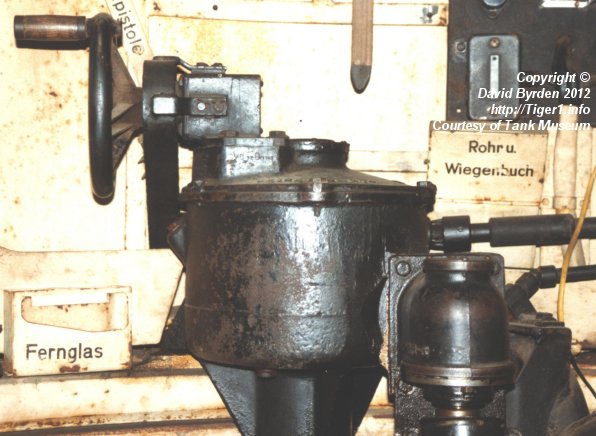
Here we can see the housing and the commander's handwheel. The chain linkage is inside a cowling of its own. The oil fill for the main gear housing is under that.
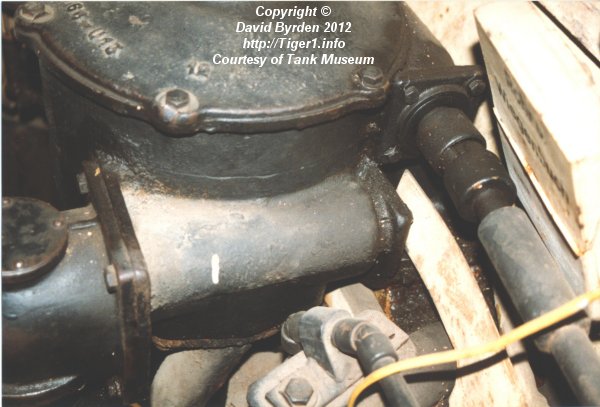
At the front of the housing, we can see how the shaft from the loader's handwheel enters the top of the housing, to engage with the upper gear wheel; while the drive shaft from the engine enters at the lower level.
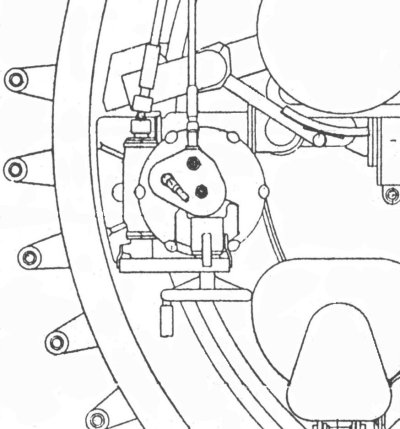
This detail from an overall diagram of the "Mid" turret, shows the housing and handwheel; an additional small gearbox was added on top when the turret was redesigned. The commander's seat is at bottom right.
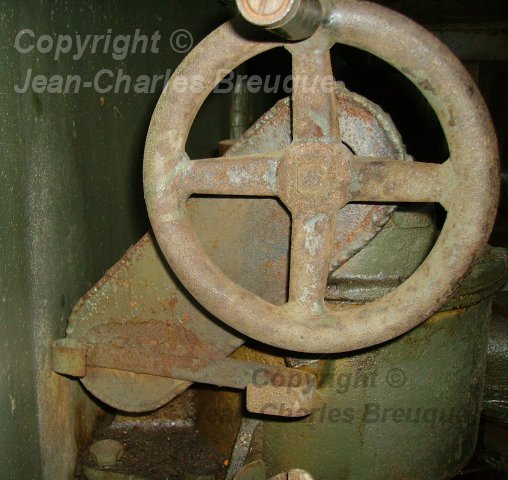
This is the Late Tiger at Saumur, which has been unfortunately painted green postwar. We can see the commander's traverse wheel, and how close it is to the turret wall. The housing and its attachment to the turret ring are visible behind the wheel.
[1] Factory drawing 2AKF31861U1B11: Turmgehause (overall turret armour)
