About this detail of the Tiger

The loader's hatch has a spring counterbalance. The spring is in a tube under the roof. It pushes on an arm fixed to the hatch. Also, there is a spring-loaded plunger to lock the hatch in the vertical position.
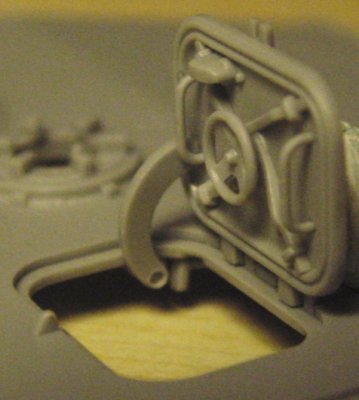
This kit represents all of those parts.
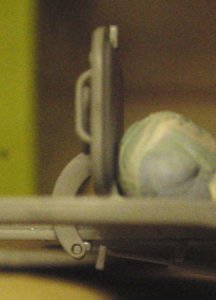
It is difficult to glue the arm (part E18) in the correct position. This solution uses the plunger to locate the arm. First, glue the plunger (part E21) to the roof. Align it with the longer, thinner rod towards the hatch. Ensure that the arm can slide onto the plunger - ream out the hole if needed.
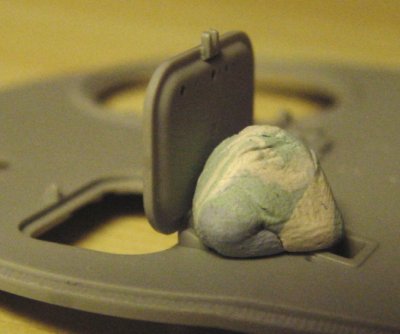
Use an office product to attach the hatch firmly in the vertical position. Now glue the upper end of the arm to the hatch, using the plunger to hold the other end.
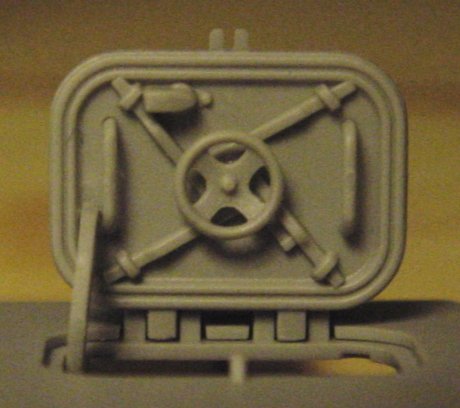
The real arm has a slight kink, which Dragon have carefully reproduced. Their plastic part is thick; if you want to thin it, preserve the kink.
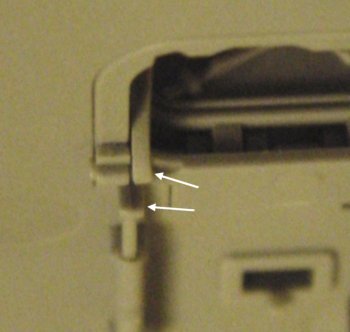
On my kit, the tube (part E22) does not line up exactly with the arm. In this case, remove the locating pins and glue this part slightly to the right.

Dragon have molded the counterbalance fully extended on both sides, which is impossible. You are supposed to remove the unwanted part. For a fully open hatch, remove the tail end of E22.

For a partially open hatch, first glue the hatch in position. Cut off the head end and shorten it so that it will touch the arm when replaced. Cut the corresponding length off the tail end.