S-mine launchers
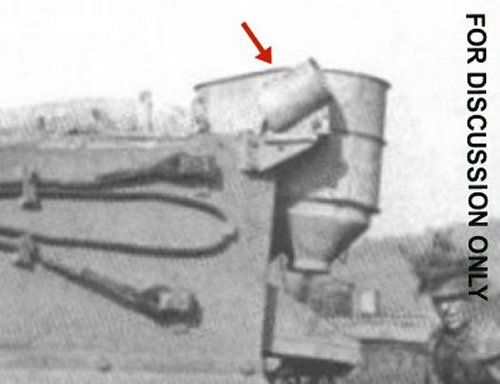
Tigers of this kit's version could carry five S-mine launchers on their hull (or four, in the case of Command Tigers).
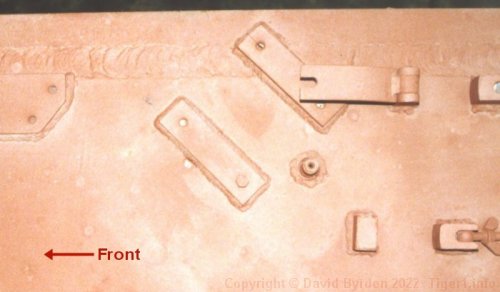
This kit provides the launchers. But it requires you to install them on the model, whereas real Tiger crews would often remove the launchers. In that case, welded block mounts on the roof would remain, and support arms would protrude from the hull rear wall. This kit doesn't provide any of them as separate parts.
Thick walls
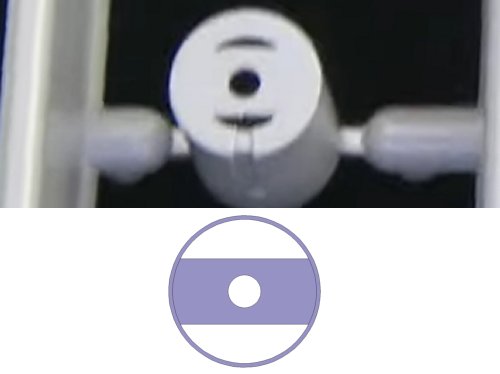
The kit's launcher parts have extremely thick walls at their exposed rear side. You could improve accuracy by enlarging the outsides of these holes. The diagram, drawn to the same scale, shows the true thickness of the walls.
Unclear instructions
The kit's instructions have an error here. Step 14 tells you to build three of the launchers with flat bases. These three are specified for decal options 1,4,5,6. Later on, step 20 tells you to build two launchers using part R8. But that is only true for decal options 2 and 3. You don't need five copies of part R8.
Make the final two launchers using parts S63 and S50, and complete them with Q43 and Q42 as per the main sketch.
Strange cylinder
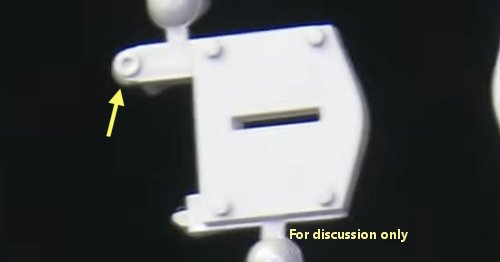
At the inner end of the kit's long support arm, on top, there is a mounting block with a threaded hole. Every example that I have seen has a square block. But the kit gives us a cylinder.
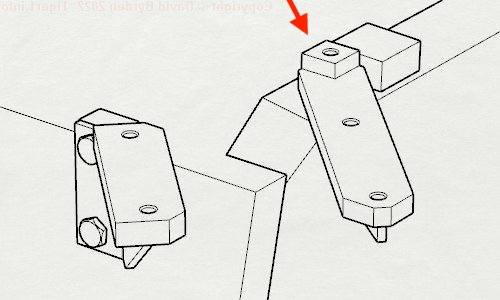
This is the true shape of the block.
Support arms
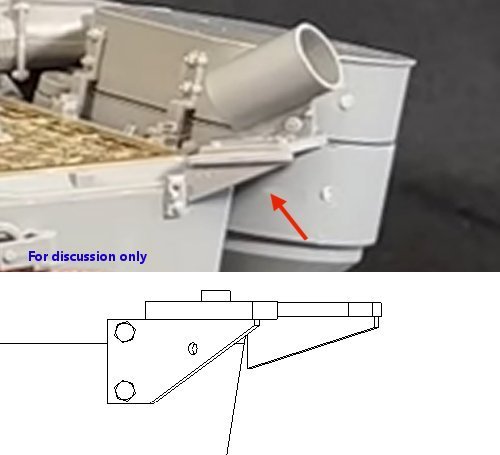
The rear bases stood on two support arms. One arm was deep and the other shallow. This kit mistakenly gives you two shallow arms, meaning that the outer arm (arrowed) fails to mate up with the full length of the block on the hull. Compare it to my diagram of the true shape.
Unknown item
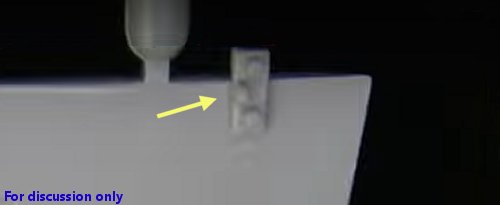
A third error is in the tiny block on the hull wall. As my diagram shows, it carried only two bolt heads. But the kit places a third, inexplicable item between them. For accuracy, you can cut that off.